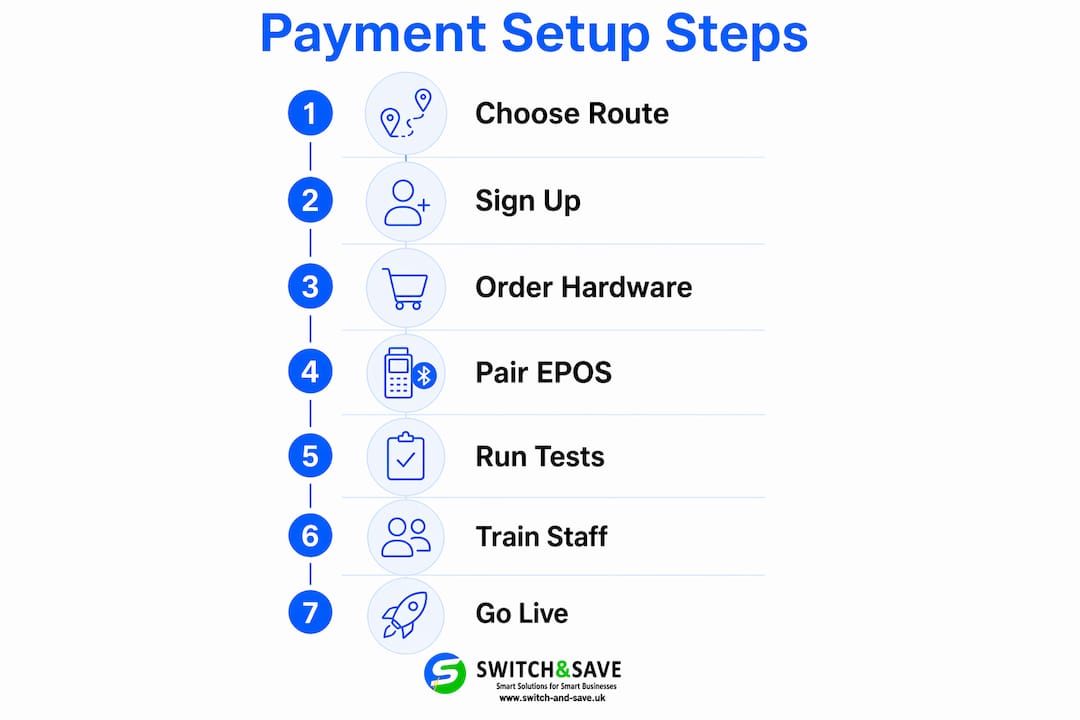
You can have integrated EPOS and card payments live the same day. For most small businesses, the fastest route is a Tap to Pay app or a low-cost Bluetooth reader. Here are the exact steps:
- Choose your route: Tap to Pay, app reader, standalone terminal, or fully integrated EPOS terminal.
- Sign up with your chosen payment provider and complete identity checks.
- Link your settlement bank account.
- Pair or integrate the terminal with your EPOS system.
- Run a test transaction and refund before opening.
- Brief your staff and go live.
Start with a card reader or Tap to Pay for speed. Move to a fully integrated terminal when your monthly card turnover makes it worthwhile.
Table of Contents
- What do you need before you begin?
- Step by step payment setup: from signup to going live
- What do UK payment setups actually cost?
- PCI, data protection, and fraud basics
- How to test and fix the issues that stop takings
- When should you upgrade or bring in professional help?
- Key takeaways
- The case for getting the integration right first time
- Switch-and-save makes integrated EPOS setup straightforward.
- Useful sources
- FAQ
What do you need before you begin?
Getting the documents and decisions sorted upfront saves you hours of back-and-forth during activation.
Documents you’ll typically need:
- Photo ID (passport or driving licence) and a selfie for KYC checks
- Proof of address (utility bill or bank statement, usually within three months)
- Business name, trading name, and business type
- Bank sort code and account number for settlement
- Companies House number if you’re a limited company
Decisions to make first:
- Which route suits you: Tap to Pay, app reader, standalone terminal, or a fully integrated EPOS terminal?
- Do you need offline-capable hardware for a venue with patchy Wi-Fi?
- Will settlements go to a business or personal account? (More on this below.)
EPOS compatibility check: Confirm with your EPOS vendor whether your system supports the terminal integration method you’re planning. Fully integrated terminals typically connect via serial, API, or Smartlink. If you’re using a companion app reader, check that your EPOS app supports Bluetooth pairing and the correct device permissions.
Network and infrastructure: Countertop terminals need reliable Wi-Fi or a wired Ethernet connection. If you’re going for a fully integrated terminal, some providers require a static IP and firewall configuration before an engineer can complete the installation. Confirm this with your IT provider or internet supplier well in advance.
Pro Tip: Open a dedicated business bank account before you sign up. A separate business account keeps VAT reporting clean, simplifies reconciliation, and is required by some merchant account providers anyway.
Step by step payment setup: from signup to going live
Work through these steps in order. Each one builds on the last.
Step 1: Choose your route
| Route | Best for |
|---|---|
| Tap to Pay (SoftPOS) | Instant start, no hardware cost; needs iPhone XS or newer, or NFC Android |
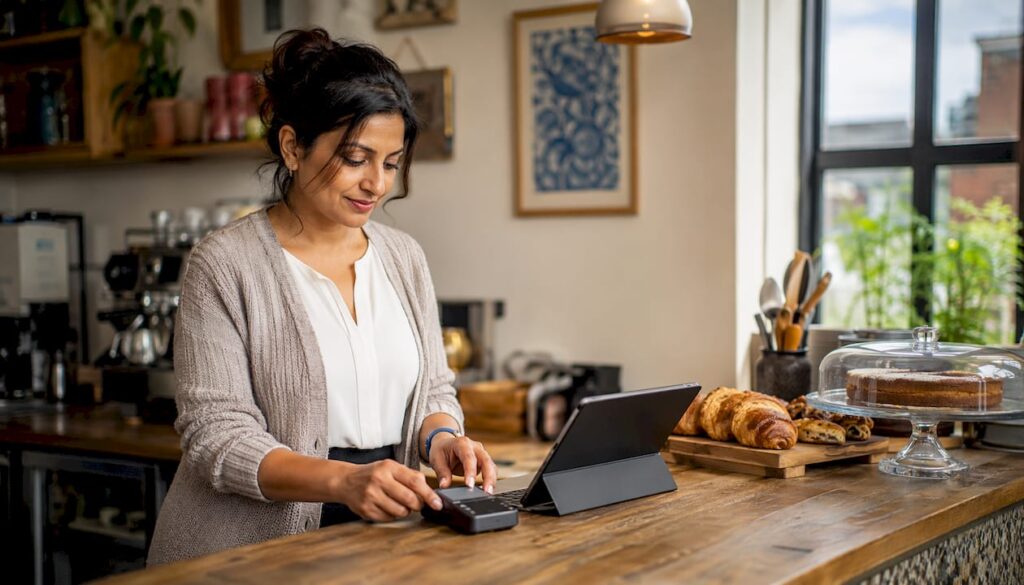
| App-based Bluetooth reader | Fast setup, low upfront cost, portable |
| Standalone terminal | Fixed counter, no EPOS integration needed |
| Fully integrated EPOS terminal | Multi-till sites, high volume, inventory-linked payments |
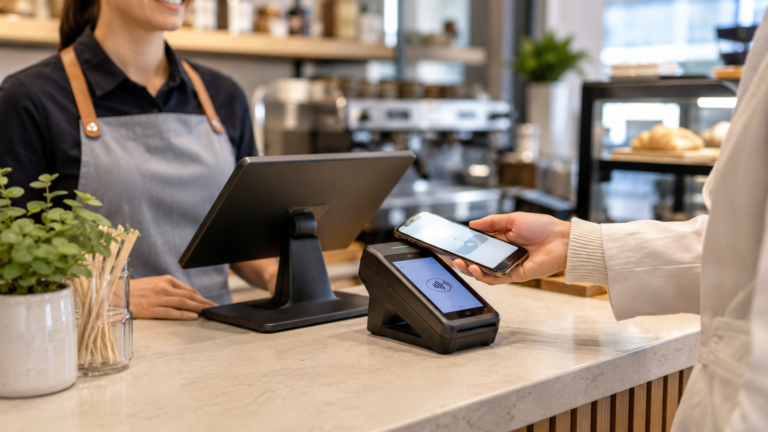
Tap to Pay is available in the UK and turns a compatible smartphone into a contactless terminal with no extra hardware. It’s the quickest way to start taking payments today.
Step 2: Sign up and verify
Complete the provider’s online form. You’ll enter your name, address, date of birth, business name, business type, and bank details. Most providers request a photo ID and selfie for automated KYC. Verification is usually instant to a few hours. Registration itself takes around 10–20 minutes.
Step 3: Order hardware or enable Tap to Pay
For a Bluetooth reader, expect delivery in 1–3 business days. Charge the device fully before pairing. For standalone or integrated terminals, confirm SIM or Wi-Fi setup and note any activation codes in the box. Tap to Pay users simply download the provider’s app and enable the feature.
Step 4: Integrate or pair with your EPOS
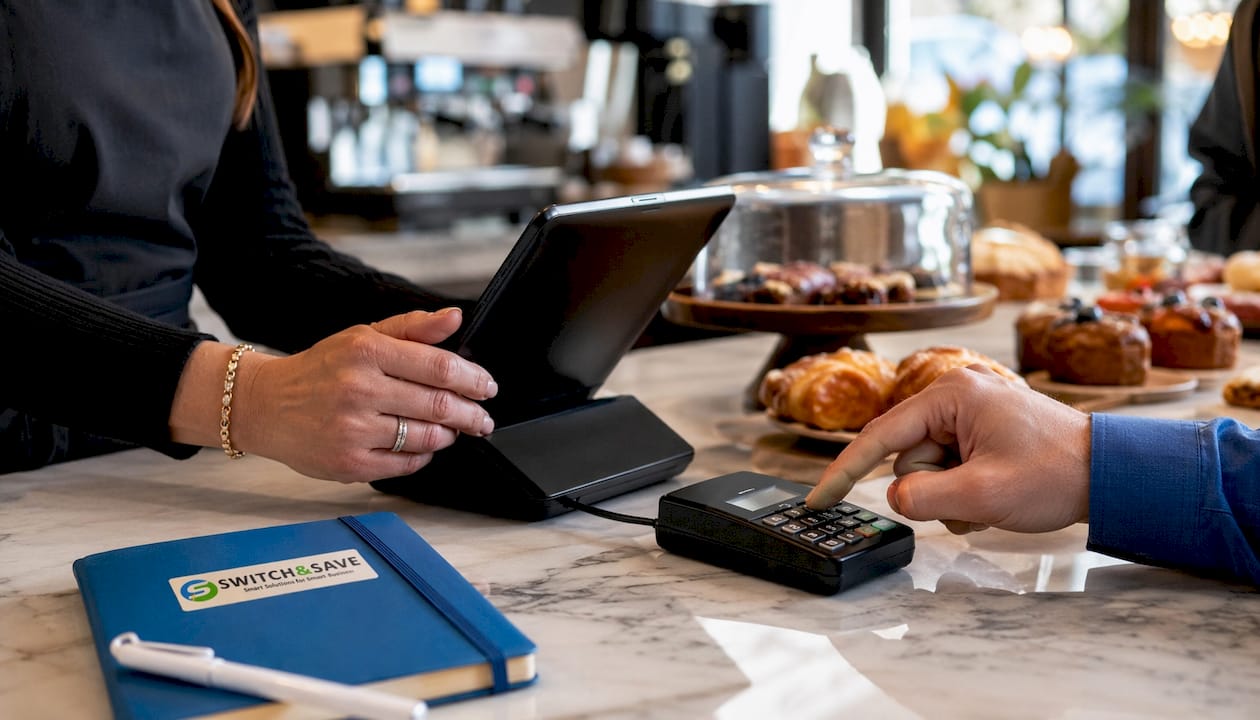
This is where the EPOS integration step differs by route. For a fully integrated terminal, your provider will walk you through API or Smartlink configuration. You’ll need static IP, gateway, subnet, and DNS details ready if the terminal uses a wired network. For a Bluetooth companion reader, open your EPOS app, go to payment settings, and follow the pairing workflow. Confirm device permissions and set up till and employee PINs.
Step 5: Configure your account settings
In your provider’s app or portal, set up:
- Settlement account details (double-check sort code and account number)
- VAT rates applicable to your products
- Tipping rules (particularly relevant for hospitality)
- Receipt delivery method: email, SMS, or print
- Staff accounts, roles, and refund permissions
- Product catalogue sync if your EPOS supports it
Step 6: Run your mandatory tests
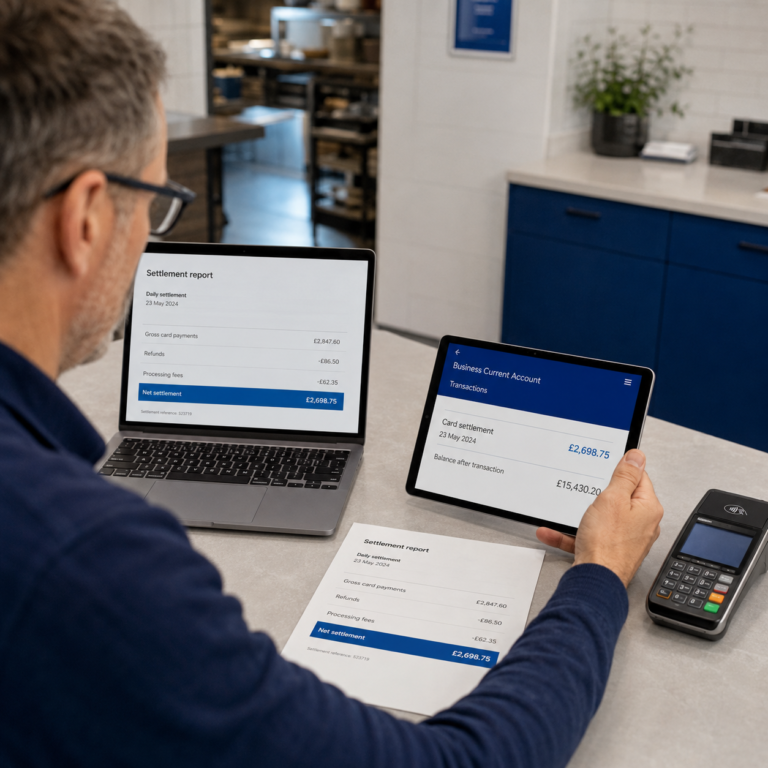
Before your first real customer, run a test transaction and refund using your own card. This confirms the settlement destination, the refund workflow, and receipt delivery. Check your reporting dashboard to confirm the transaction appears correctly.
Testing checklist:
- ✅ Chip & PIN transaction
- ✅ Contactless payment (including Apple Pay and Google Pay)
- ✅ Receipt delivery (email, SMS, and/or print)
- ✅ Staff login and refund flow
- ✅ Reporting entry and settlement schedule
Step 7: Train staff and go live
Show staff how to process refunds, voids, and split bills. Save your provider’s support contact details at the till. Keep a printed copy of the refund and void procedure for the first week.
Pro Tip: Test with the device exactly as a customer would. Tap to Pay has OS-level limits on contactless amounts — check your provider’s current ceiling before opening.
What do UK payment setups actually cost?
Costs vary by route, but the numbers below give you a realistic picture for 2026.
| Route | Typical hardware cost | Transaction fee | Monthly fee | Settlement timing |
|---|---|---|---|---|
| Tap to Pay | — | ~1.5%–1.75% | None | 1–2 business days |
| App Bluetooth reader | From ~£19 | ~1.5%–1.75% | None | 1–2 business days |
| Standalone terminal | Rental or purchase | Lower % rate | Often yes | Customisable |
| Integrated EPOS terminal | Higher upfront or rental | Lower % rate | Often yes | Customisable |
For a new business with a typical monthly card turnover, a £19 reader at standard transaction fees will incur modest costs. A merchant account with a monthly charge may save money at higher volumes. See the card reader buyer’s guide for a detailed comparison.
Registration takes a short time, identity checks are usually very fast, and hardware typically arrives within a few business days. Initial in-app configuration adds around 20–30 minutes. Tap to Pay is live the same day.
PCI, data protection, and fraud basics
You don’t need to be a compliance expert, but you do need to cover the basics.
PCI DSS applies to every business that takes card payments. The practical rule: keep cardholder data out of your own systems entirely. Use provider-certified terminals and never store card numbers yourself.
Practical steps to stay compliant:
- Use only terminals and apps certified by your payment provider
- Enable automatic firmware and software updates
- Restrict refund permissions to named staff roles
- Enforce staff PINs and role-based access on your EPOS
- Reconcile settlements against your EPOS reports daily
GDPR note: Review your provider’s data processing agreement. Limit how long you store customer email addresses collected for receipts, and be clear about consent if you use those addresses for marketing.
Fraud mitigation: Require chip & PIN for high-value transactions. Monitor chargeback alerts in your provider’s dashboard. Have a clear declined-card procedure at the till so staff know what to say and do.
Pro Tip: Keep your EPOS and terminal firmware up to date and centralise transaction logs. If a dispute arises, timestamped logs are your best evidence.
How to test and fix the issues that stop takings
Run this checklist before you open on day one:
- Full test transaction and refund (your own card)
- Contactless and chip & PIN
- Receipt delivery via each method you’ve enabled
- A product catalogue item sale and reporting check
- Staff login with a non-admin account
Run test refunds immediately after a test sale. This verifies the entire customer refund journey before a real customer needs one — and confirms your settlement account is correct before any live funds move.
Common failures and quick fixes:
- Bluetooth pairing drops: Reboot both devices and re-pair from scratch.
- Wi-Fi connectivity lost: Switch to mobile data or Ethernet as a fallback.
- Settlement not appearing: Verify bank details in your portal and allow 1–2 business days.
Before contacting support, collect: device serial number or MAC address, your provider account email, screenshots of any error messages, and the time and card brand of the failed transaction. Use in-app chat for fast first-line checks. If the issue is API or Smartlink related, escalate to your EPOS supplier rather than the payment provider.
When should you upgrade or bring in professional help?
DIY setup works well for single-till businesses with straightforward needs. These are the signs it’s time to move on:
- Monthly card turnover has reached the level where a merchant account saves meaningfully on fees
- You need loyalty programme or inventory integration that your current reader doesn’t support
- You’re running multiple terminals across a site with network or firewall requirements
- Reconciliation is taking too long each week because payments and EPOS reports don’t match automatically
If you need static IP configuration, Smartlink or API integration work, or onsite engineer installation across multiple tills, bring in a specialist. Attempting complex network configuration without the right expertise leads to engineer aborts and wasted days. Switch-and-save offers managed EPOS installations with local engineer visits across the UK, which removes that risk entirely.
Pro Tip: Before upgrading hardware, book a short audit with a specialist. It uncovers hidden integration costs and prevents downtime during migration. Switch-and-save’s EPOS upgrade resources are a good starting point.
Key takeaways
A Tap to Pay app or a £19 Bluetooth reader gets most UK retail and hospitality businesses taking card payments the same day; integrated terminals suit growth or multi-terminal sites and need more preparation.
| Point | Details |
|---|---|
| Prepare documents first | Have photo ID, proof of address, and bank sort code ready before signing up. |
| Test before going live | Run a real transaction and refund to confirm settlement account and receipt delivery. |
| Fees start from 1.5% | App-based readers typically charge 1.5%–1.75% per transaction with no monthly fee. |
| Integrated terminals need network prep | Confirm static IP, firewall rules, and EPOS compatibility before booking an engineer. |
| Switch-and-save for managed setup | Switch-and-save provides local engineer installation and free demos for integrated EPOS and payment systems. |
The case for getting the integration right first time
There’s a tendency among retail and hospitality owners to treat payment setup as an afterthought. You get the card reader working, and that feels like enough. The problem is that a reader sitting beside your EPOS, rather than talking to it, means every sale gets entered twice. Small errors add up. At the end of a busy Saturday, manual reconciliation between two systems is where mistakes happen and where staff time disappears.
What actually matters is not which reader you buy, but whether it feeds data directly into your EPOS. When payments and stock movements are linked, you get accurate end-of-day reports, faster service at the till, and far fewer disputes at month-end. Hospitality businesses in particular benefit from this: a table’s bill, split payments, and tips all reconciled automatically is a different operation from one where staff are manually cross-referencing receipts.
Switch-and-save’s approach of pairing local engineer support with transparent pricing means the integration gets done correctly from day one, rather than patched together over several weeks of troubleshooting. That’s the difference between a system that works and one that almost works.
Switch-and-save makes integrated EPOS setup straightforward.
Getting card payments and EPOS talking to each other is where most small businesses lose time. Switch-and-save removes that friction with fully managed installation, UK-based support, and transparent pricing from the start.
Whether you’re setting up your first till or upgrading a multi-terminal site, Switch-and-save’s local engineers handle the configuration so you don’t have to. Customers consistently highlight the clarity of pricing and the quality of onsite support in their reviews.
Request a free demo or explore local installation coverage to find an engineer near you. No long-term contracts required to get started.
Useful sources
- How to Accept Card Payments in the UK (2026): Step-by-Step Guide — covers Tap to Pay, reader costs, and test transaction guidance
- How to set up a card reader for your small business | Go Small Business — sign-up documents, KYC process, and realistic setup timings
- How to accept credit card payments | money.co.uk — PCI DSS merchant responsibilities summarised
- Elavon EPOS installation guide — static IP, firewall, and site survey requirements for integrated terminals
- How to Set Up a Card Machine UK 2026 | Compare Your Business Costs — business bank account best practice and setup cost overview
- How to accept credit cards as a small business | Stripe — payment gateway and merchant account explainer
This article is general information, not professional financial or legal advice. Confirm current fees, compliance requirements, and eligibility with your payment provider or a qualified adviser before making decisions for your business.
FAQ
How long does a payment setup take from start to first sale?
Registration takes a short time, identity checks are usually very fast, and hardware typically arrives within a few business days. Tap to Pay is live the same day.
What transaction fees should I expect for a card reader in the UK?
App-based readers typically charge 1.5%–1.75% per transaction with no monthly fee. Merchant accounts offer lower percentage rates at higher volumes in exchange for a monthly charge.
Do I need a business bank account to accept card payments?
Most app readers will settle into a personal account, but a separate business account is strongly recommended. It simplifies VAT reporting and is required by some merchant account providers.
What is the difference between a paired reader and a fully integrated terminal?
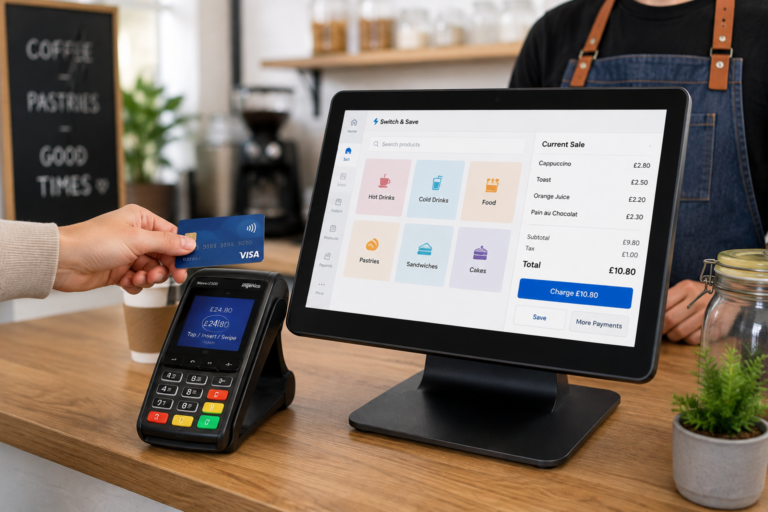
A paired Bluetooth reader sits alongside your EPOS and requires manual entry of the sale amount. A fully integrated terminal communicates directly with your EPOS via API or Smartlink, so the payment amount is sent automatically and the sale is recorded in one step.
When should I contact Switch-and-save instead of setting up myself?
If you need static IP configuration, Smartlink or API integration, or onsite engineer installation across multiple tills, Switch-and-save’s managed setup service handles the full installation with local engineers and UK-based support.