For most retail and hospitality POS setups in 2026, a 2D imager is the safer default, since it reads screens and damaged labels a 1D laser cannot. A basic 1D scanner still works fine if your codes are always printed, always linear, and your workflow never touches mobile wallets or digital coupons. Whichever you lean towards, check the scanner’s host mode against your POS software and run a short acceptance test before you commit to an order.
TL;DR:
- 2D imagers are recommended for most retail and hospitality setups in 2026 because they can read screens, damaged labels, and barcodes at odd angles, unlike 1D lasers.
- Compatibility testing with actual POS hardware, symbologies, and workflow conditions is crucial before purchasing, especially to prevent data entry errors and double-scanning issues.
- Handheld, presentation, and fixed scanners serve different counter needs, with wireless models requiring attention to IP ratings and charger interchangeability for ease of maintenance.
- Industry guidance favors early adoption of 2D scanners for long-term flexibility, especially for venues planning app-based ordering or digital loyalty programs.
- Bundled EPOS packages often include pre-configured scanners supported by UK-based technical support, simplifying setup and reducing troubleshooting during rollout.
Table of Contents
- What’s the difference between 1D and 2D barcode scanners?
- Which scanner form factor suits your counter?
- How do you check compatibility before you buy?
- How do you choose the right scanner and supplier?
- How do you test and roll out a new scanner properly?
- Why we push retailers towards 2D imagers by default
- How Switch&Save gets your scanner working on day one
- Sources
- FAQ
What’s the difference between 1D and 2D barcode scanners?
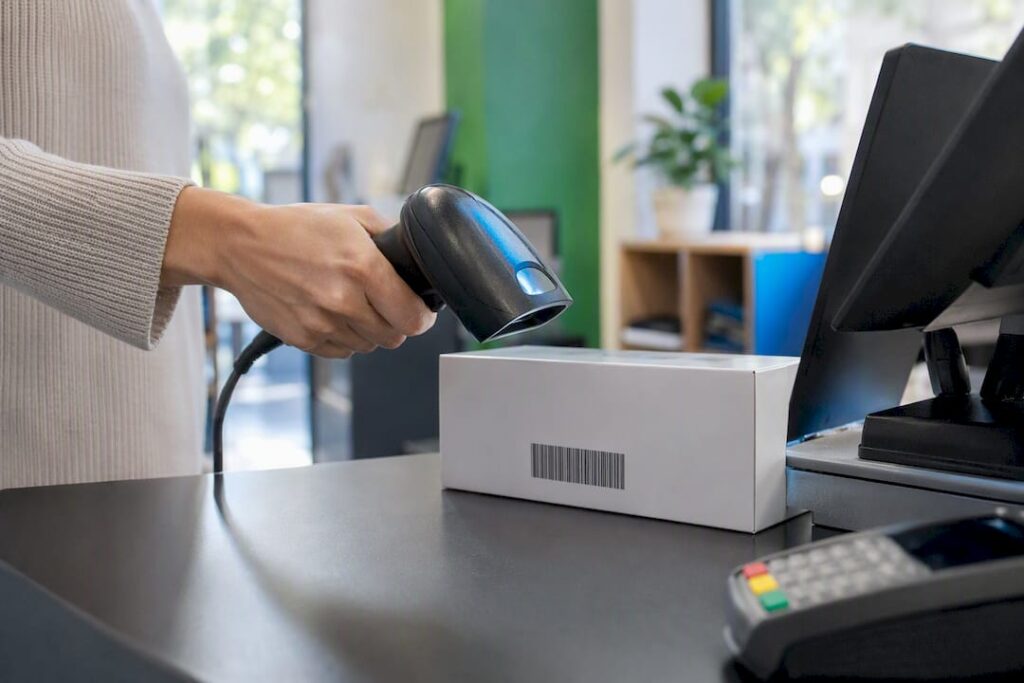
A 1D scanner reads linear barcodes, the classic black-and-white stripes on tins, bottles and price tags. It works by sweeping a laser or LED line across the code, and it’s fast and cheap at what it does. A barcode reader in the strict technical sense is any device that captures that data and feeds it straight into your POS system, whether it’s a handheld gun or a fixed unit built into the counter.
A 2D scanner, or imager, captures a full image and decodes both linear barcodes and matrix codes like QR codes and PDF417. That distinction matters more than the spec sheets suggest. 2D imagers read barcodes on phone screens, scuffed or torn labels, and codes printed at odd angles, none of which a 1D laser can reliably handle.
The practical fallout shows up at the till, not in a brochure:
- Loyalty apps and digital coupons need screen scanning. A 1D-only setup forces staff to ask customers to read out codes manually, which slows queues and invites keying errors.
- Returns desks often deal with damaged or faded barcodes from months-old receipts. 2D imagers recover far more of these without a manual override.
- Grocery and convenience formats with high-volume linear-only stock can still run efficiently on 1D, provided nothing in the workflow ever needs a screen scan.
A 1D laser earns its place when your stock is entirely printed barcodes, your promotions never involve a phone screen, and price matters more than flexibility. For everything else, industry guidance increasingly points towards 2D as the safer long-term buy, particularly for multi-site retailers or any hospitality venue planning to add app-based ordering or rewards.
Which scanner form factor suits your counter?
Matching the physical unit to the lane matters as much as choosing 1D or 2D. Three form factors cover almost every POS scenario:
- Handheld scanners suit staffed checkouts, market stalls and any counter where the operator scans varied items at different angles. They’re the most flexible option and the easiest to swap between tills.
- Presentation or onshelf scanners sit fixed on the counter and scan automatically when an item passes in front of them, which speeds up high-volume grocery and convenience lanes where staff don’t want to pick up a gun for every item.
- Fixed or embedded scanners build into self-checkout kiosks or drive-through windows, ideal where hands-free, always-on scanning matters more than portability.
Connection choice carries its own trade-offs. USB HID (keyboard wedge) is the simplest route: plug it in and it types scanned data straight into whatever field has focus, no drivers required. Bluetooth suits counters where cable runs are impractical or where staff need to walk the shop floor, but it introduces pairing and battery management as ongoing tasks. Serial or SDK-based integration gives developers more control over data formatting but adds setup work most small operators don’t need.
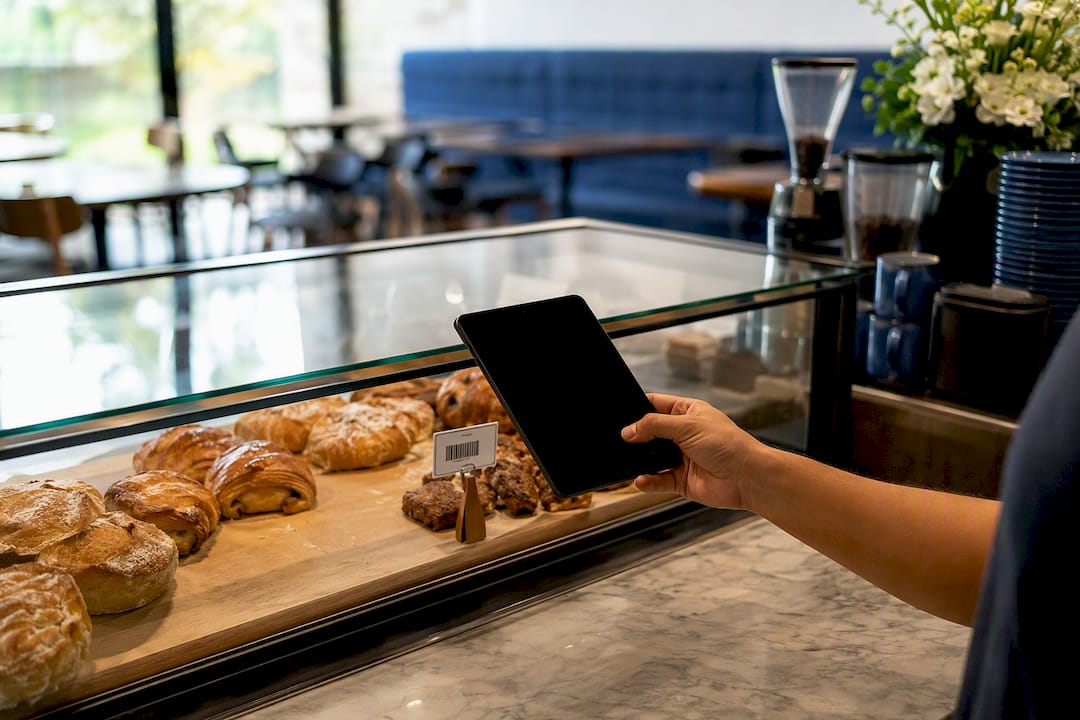
Beyond hardware, software scanning SDKs can turn a tablet camera into a functional scanner, a reasonable stopgap for low-volume or pop-up operations that don’t yet justify dedicated hardware.
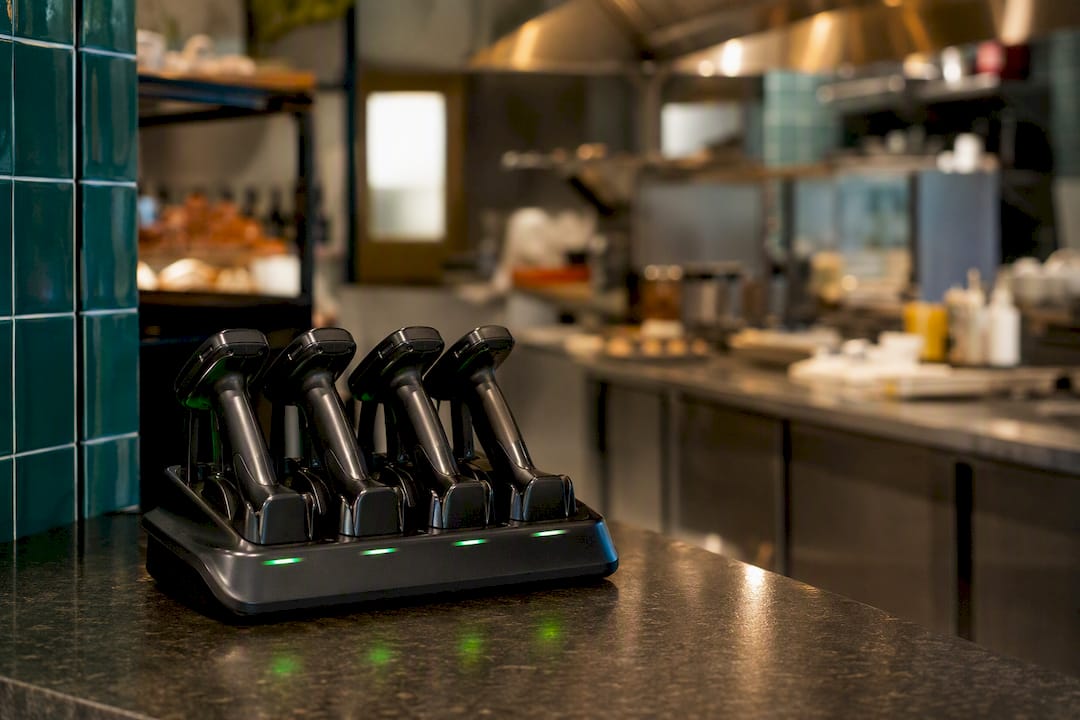
For wireless units, check IP rating if the counter sees spills or wash-downs, confirm the mounting bracket fits your till design, and standardise on one charger type across sites so spares are interchangeable.
How do you check compatibility before you buy?
Compatibility failures rarely show up in a product demo. They show up three weeks into rollout, when a scanner types barcode data into the wrong field or drops a digit nobody expected.
Most POS scanners use USB HID, effectively acting as a keyboard. That means the barcode gets typed wherever the cursor currently sits, so if your POS software doesn’t lock focus to the barcode field, a stray click can send scan data into the wrong box entirely. Scandit’s buyer guidance recommends confirming your workflows, required symbologies, and integration model before you evaluate any hardware, not after.
Run through this before ordering:
- Confirm which symbologies your stock actually uses (EAN-13, Code 128, QR, PDF417) and test each one, not just the one on the sample sticker.
- Check suffix and prefix behaviour. Many POS systems expect an “Enter” keystroke after each scan, and some stacks require the scanner to be reprogrammed to send it correctly.
- Test the scanner against any connected tablet or payment terminal, since USB hubs and card readers sometimes compete for the same port or driver.
- Verify the scanner won’t double-scan on a slow trigger release, a common annoyance in busy queues.
Pro Tip: Ask your supplier for the exact configuration barcode or setup guide for your POS software before the unit arrives; reprogramming a scanner on day one is far quicker than doing it mid-shift with a queue forming.
How do you choose the right scanner and supplier?
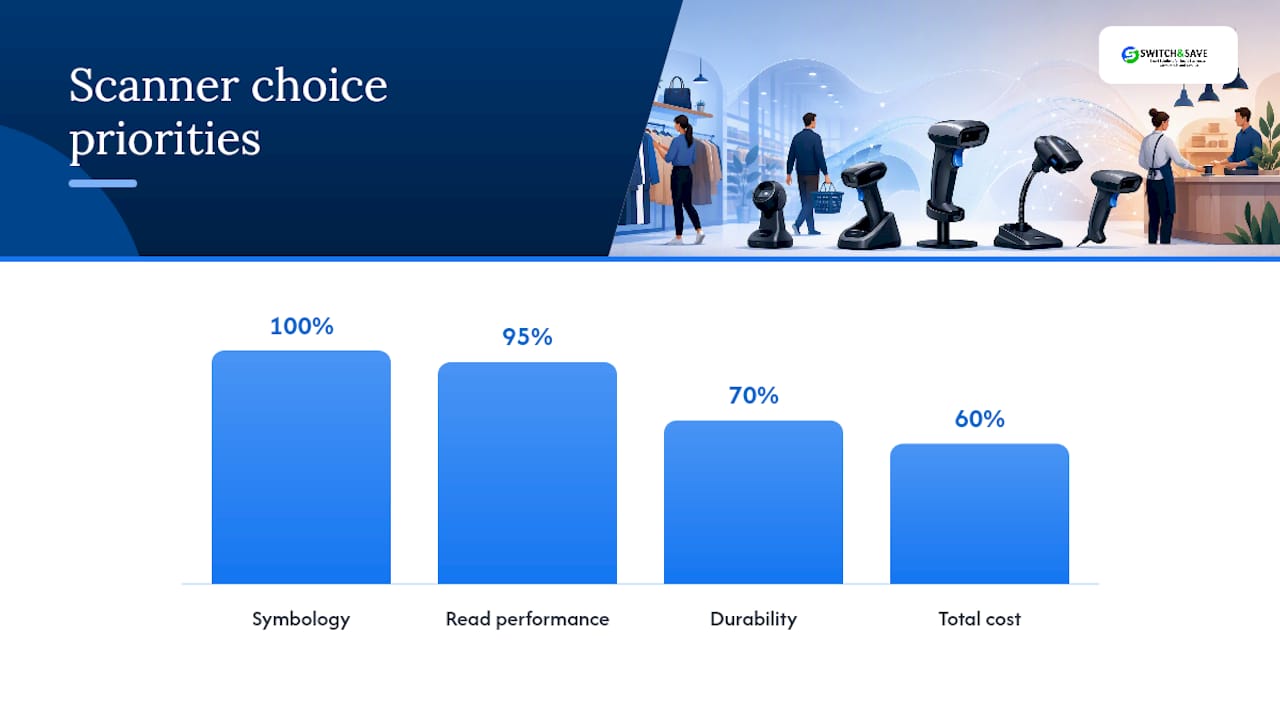
Rank your criteria before you start comparing units, because price alone tells you almost nothing about running cost. Symbology support and read performance on your actual stock come first, followed by durability for the environment (dusty stockroom, sticky bar counter, chilled aisle), then total cost of ownership.
Integration friction, not raw scan speed, tends to generate the most support tickets after a rollout. A scanner that reads instantly but fights your POS software over field focus will cost you more staff hours than a slightly slower unit that just works.
When you’re speaking with a supplier, ask directly:
- What’s the warranty term, and does it cover accidental drops in a busy till environment?
- How quickly can they supply spares, and do they hold UK stock?
- Is firmware or SDK access available if you need custom configuration later?
- What’s the typical replacement lead time if a unit fails mid-week?
Watch for red flags: a supplier that won’t commit to a spares timeline, pushes proprietary cables with no alternative source, or resists letting you run your own acceptance test before signing. Choosing 2D early, rather than upgrading later, also tends to avoid a costly mid-life hardware swap once digital loyalty or QR ordering enters the picture.
How do you test and roll out a new scanner properly?
A short, structured test before full deployment catches most problems that would otherwise surface during a busy Saturday shift. Treat it as a checklist, not a formality:
- Build a sample scan sheet with printed codes, deliberately damaged or creased labels, and a barcode displayed on a phone screen.
- Scan each sample at every lane the unit will serve, checking that formatting, suffix behaviour, and the “Enter” keystroke all land correctly in your POS.
- Confirm no lane produces a double-scan on a slow trigger release.
- For wireless units, test pairing and reconnection after a deliberate signal drop, then run the scanner through a full shift to check battery life under real conditions.
- Label spare units clearly, standardise chargers across every site, and log which firmware version each scanner runs.
A short acceptance test using printed, damaged and on-screen samples is the fastest way to know whether a scanner will hold up once it’s live.
Pro Tip: Keep one “problem” barcode in your test pack permanently, whichever code gave you the most trouble in a previous rollout, and rerun it against every new scanner you evaluate.
Why we push retailers towards 2D imagers by default
Having watched a fair number of POS rollouts stall on hardware nobody tested properly, the pattern is consistent: the failures rarely come from a bad scanner. They come from a scanner nobody checked against the actual POS software before go-live day.
Switch&Save bundles pair EPOS hardware with AI-driven software and UK-based support, and every rollout we’re involved in includes a compatibility check before hardware ships, not after. Within our own product lines, a fixed 2D imager tends to suit self-checkout and high-turnover grocery lanes, while a handheld 1D scanner still earns its keep on market stalls and simple print-only stock counters. Most hospitality venues adding loyalty apps or QR-based ordering move to 2D within their first year regardless of what they started with, which is why we now default new retail and hospitality quotes to 2D unless the workflow genuinely rules it out.
— Amir
How Switch&Save gets your scanner working on day one
Buying the right scanner class solves half the problem. The other half is making sure it talks to your till, your printer, and your payment terminal without a week of trial and error, and that’s the part most suppliers leave you to sort out alone.
Switch&Save’s EPOS bundles come with barcode scanners pre-matched to your software, whether you run a retail EPOS bundle or a hospitality EPOS bundle with table ordering built in. Every package includes UK-based technical support, so if a scanner needs reconfiguring after a firmware update, you’re speaking to someone who already knows your setup. If you’re weighing up till hardware layout alongside your scanner choice, it’s worth comparing counter options like the Sam4s ER-180UL cash register to see how everything fits together physically. Book a free demo through the EPOS systems page and we’ll walk through compatibility with your existing stock and payment setup before you spend a penny.
Sources
- What is a barcode reader (POS scanner) | TechTarget
- How to choose the right barcode scanner | Scandit
- 1D vs 2D Barcode Scanners: How to Choose? | HPRT
- Barcode 2D vs 1D Scanner Guide | POSZEO
- The definite guide to 1D & 2D scanners in point of sale | Pos-Hardware Ltd
FAQ
Can I scan a barcode with my phone?
Yes. Software scanning apps and SDKs can turn a phone or tablet camera into a working scanner for low-volume or mobile use, though a dedicated imager still outperforms it for speed and accuracy at a busy till.
What is the best barcode scanner for a small business?
For most small retail and hospitality operations, a 2D imager is the better long-term choice because it reads screens, damaged labels and QR codes; a 1D laser only makes sense if your stock is entirely printed, linear barcodes with no digital coupons or loyalty apps involved.
Can I earn money from scanning barcodes?
Some cashback and price-comparison apps pay small rewards for scanning product barcodes, but this is unrelated to running a barcode scanner POS setup for business sales and inventory tracking.
What barcode scanner works best with my POS software?
Any scanner using USB HID (keyboard wedge) mode will type data into most POS software without extra drivers, but always confirm symbology support and suffix behaviour with your supplier before ordering. Switch&Save pre-configures scanners against your specific POS setup as part of its EPOS bundles.
How do I know if a scanner will work with my existing till?
Run an acceptance test using printed, damaged and on-screen barcode samples across every lane before full rollout, checking that formatting, suffix behaviour and double-scan prevention all work correctly with your POS software.