A POS hardware setup is the process of assembling and configuring all essential devices, including terminals, card readers, printers, and network infrastructure, to create a reliable point-of-sale system for retail and hospitality businesses. Getting this right from the start saves you time, money, and the frustration of fixing avoidable problems mid-service. This guide covers every stage of a proper EPOS (Electronic Point of Sale) installation: hardware selection, network planning, step-by-step configuration, and troubleshooting. Whether you run a boutique shop, a café, or a multi-site restaurant, the principles here apply directly to your setup.
What essential POS hardware components do you need?
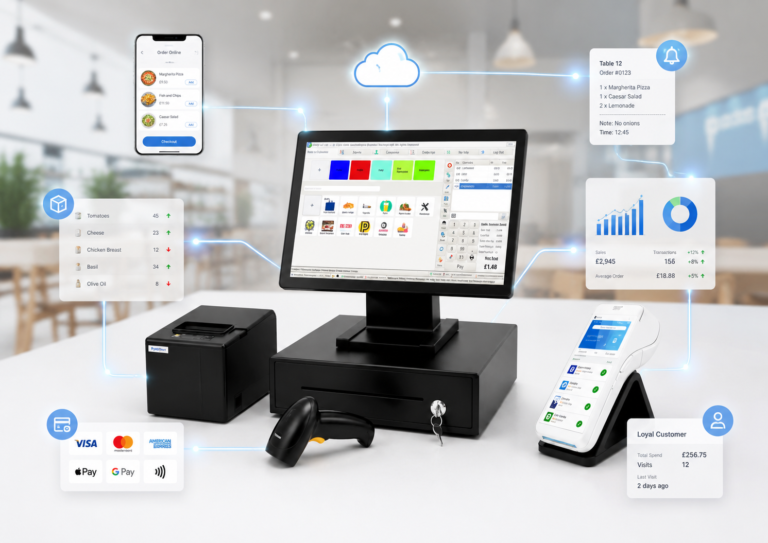
POS hardware components in UK retail commonly include a touchscreen terminal, card reader, thermal receipt printer, cash drawer, and barcode scanner. Each device plays a specific role, and missing one creates gaps in your checkout process.
Here is a breakdown of the core components:
- Touchscreen terminal. The central hub of your system. It runs your EPOS software and processes every transaction.
- Card reader. Accepts chip-and-PIN, contactless, and mobile payments. Choose a model that supports dual connectivity for resilience.
- Thermal receipt printer. Prints receipts without ink cartridges, which reduces running costs. Thermal printers are standard in UK retail for this reason.
- Cash drawer. Still relevant even as cashless payments grow. It connects directly to the receipt printer via a RJ-11 cable.
- Barcode scanner. Available in USB and Bluetooth versions. USB models are more reliable for fixed tills; Bluetooth suits mobile stations.
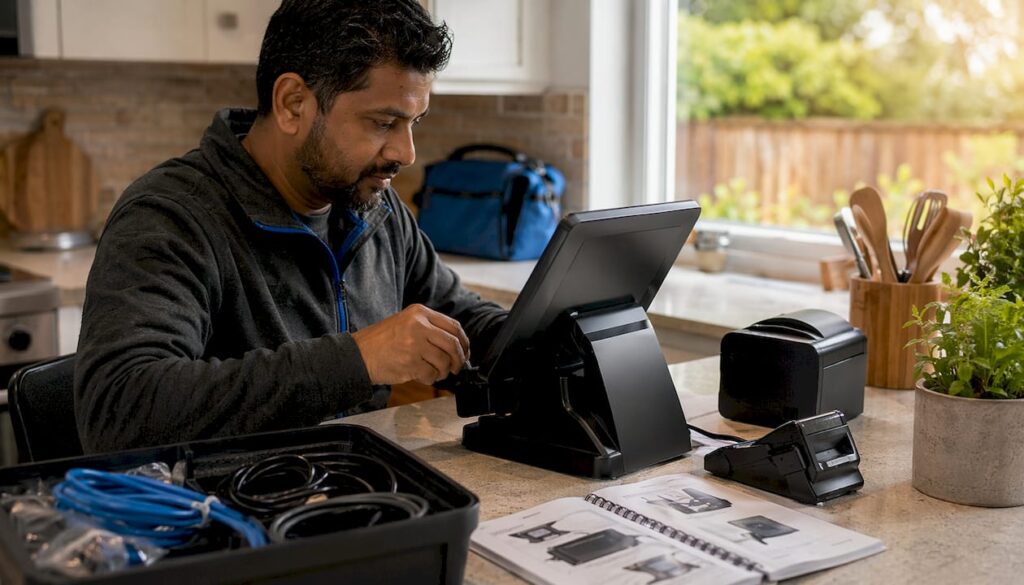
Beyond the devices themselves, you need the right installation tools and accessories.
| Hardware category | Typical function | Connectivity type |
|---|---|---|
| Touchscreen terminal | Runs EPOS software, processes sales | Ethernet, Wi-Fi |
| Card reader | Accepts card and contactless payments | Wi-Fi, 4G/5G, Bluetooth |
| Thermal receipt printer | Prints customer receipts | USB, Ethernet, Bluetooth |
| Cash drawer | Stores cash securely | RJ-11 via printer |
| Barcode scanner | Reads product barcodes | USB, Bluetooth |
| Network switch | Connects wired devices to your router | Ethernet |
| UPS power supply | Protects against power cuts | Mains power |
For installation, you will also need Cat6 Ethernet cables, a business-grade router, a managed network switch, and a UPS (uninterruptible power supply). These are not optional extras. They are the foundation of a stable point of sale hardware installation.
How should you plan your network for a secure POS setup?
Your network is the most overlooked part of any POS hardware setup guide, and it is also the part most likely to cause problems if done poorly. A weak or unsegmented network leads to downtime, slow transactions, and serious security risks.
Use VLAN segmentation to protect payment data
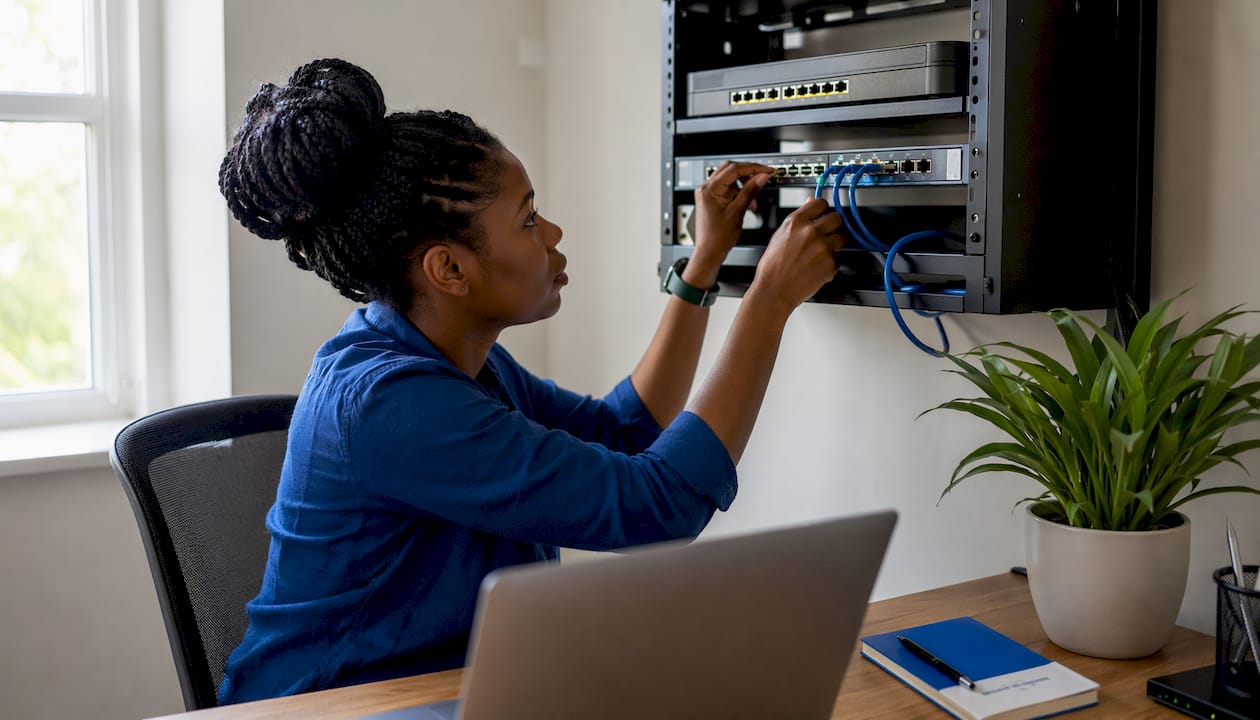
VLAN segmentation isolates payment devices from guest Wi-Fi and back-office systems, which protects payment data and keeps your network performing reliably. Typical UK retail setups use four VLANs: one for POS devices, one for staff systems, one for customer Wi-Fi, and one for CCTV and IoT devices. Firewall rules then block traffic from crossing between these segments. This separation is expected under PCI DSS, Cyber Essentials, and ISO 27001 for any business processing card payments. Skipping it creates compliance risks under both PCI DSS and GDPR.
Choose the right network hardware
A business-grade router, a managed switch, and dedicated Wi-Fi access points are the minimum requirement for a reliable POS network. Consumer-grade routers from home broadband packages do not support VLAN configuration and lack the stability needed for payment processing. Understanding network switch types helps you choose a managed switch that supports the VLAN tagging your POS setup requires.
Build in connectivity resilience
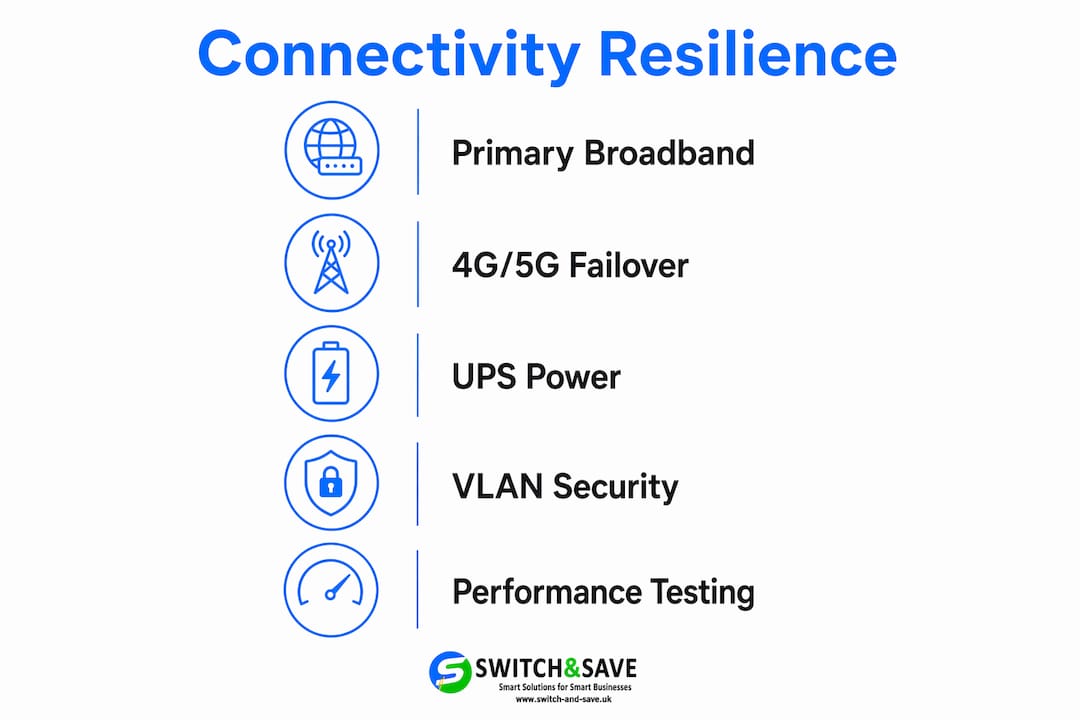
Multi-tier connectivity resilience combines a primary broadband connection with a 4G or 5G cellular failover and a UPS power supply. Most modern UK card terminals use dual connectivity, switching automatically to cellular if broadband drops. For businesses processing significant card revenue, this investment pays for itself by preventing lost sales during outages. A UPS protects your terminal and network hardware from power interruptions, giving you time to complete transactions or shut down safely.
| Network design | Complexity | Best suited for |
|---|---|---|
| Single broadband, no VLAN | Low | Very small, low-risk setups only |
| Broadband with VLAN segmentation | Medium | Most small to medium retailers |
| Broadband, VLAN, and 4G failover | Medium-high | Hospitality and high-volume retail |
| Full multi-WAN, VLAN, UPS, managed switch | High | Multi-site or high-turnover businesses |
Cloud-based POS systems require stable, low-latency connections rather than high bandwidth. A minimum of 10 Mbps per site is recommended, but connection stability matters far more than raw speed.
Pro Tip: Test your network performance before installing any hardware. Run a speed test and check for packet loss and latency. A connection that looks fast on paper can still cause transaction failures if it is unstable.
Step-by-step POS hardware installation and configuration
A systematic approach to point of sale hardware installation prevents the most common setup mistakes. Work through these steps in order.
- Inspect all components. Unbox every device and check for physical damage. Confirm you have all cables, power adaptors, and mounting hardware before you begin.
- Position your hardware. Place the terminal at counter height with the screen facing the customer for contactless payments. Position the receipt printer and cash drawer within easy reach of the operator. Fix cable runs along the counter edge or through cable trunking to keep the workspace tidy.
- Connect wired devices first. Hardwired Ethernet for fixed tills avoids Bluetooth and Wi-Fi interference, which is particularly important in thick-walled UK commercial buildings. Run an Ethernet cable from your managed switch to the terminal. Connect the receipt printer via USB or Ethernet, then connect the cash drawer to the printer’s RJ-11 port.
- Connect wireless and mobile devices. Tablets and handheld terminals connect via Wi-Fi on your dedicated POS VLAN. For buildings with poor Wi-Fi coverage, SteadyLAN technology allows tablets to receive both power and a wired Ethernet connection through the receipt printer cable, eliminating signal drop issues entirely.
- Power up and run initial checks. Switch on your UPS first, then your network hardware, then your terminal. Confirm each device appears on the network before proceeding to software setup.
- Install and configure your EPOS software. Log into your EPOS platform and complete the initial setup wizard. Link your payment provider, configure your tax rates, and set your receipt header and footer details. The software setup process covers payment integration, stock management, and reporting preferences.
- Test every peripheral. Print a test receipt, scan a barcode, open the cash drawer, and process a test card payment. Confirm each device responds correctly before going live.
- Configure user accounts and permissions. Set up individual staff logins with appropriate access levels. Managers should have full access; till operators should be restricted to sales and refunds only.
Pro Tip: Run a full end-of-day report on your first live trading day. This confirms your sales data, cash reconciliation, and payment totals are all recording correctly from the start.
Common POS setup troubleshooting and maintenance tips
Even a well-planned setup encounters issues. Knowing what to look for saves you time and avoids calling for support unnecessarily.
Frequent problems and their fixes:
- Network disconnections. Check your Ethernet cables first. A loose cable is the most common cause of intermittent connectivity. If the issue persists, confirm the device is on the correct VLAN and that your router’s DHCP lease has not expired.
- Printer jams or failed prints. Open the printer cover and check the paper roll is seated correctly with the paper feeding from the bottom. Thermal paper loaded the wrong way round will not print.
- Card reader errors. Restart the card reader and confirm it has an active network connection. If using a cellular backup, check the SIM is active and has sufficient data.
- Power interruptions. A UPS prevents most issues, but if a terminal shuts down unexpectedly, check your UPS battery health. Most UPS units display a warning light when the battery needs replacing.
- Device not recognised. Disconnect and reconnect the USB cable. If the device still does not appear, try a different USB port or cable before assuming the device is faulty.
Regular firmware and software updates are not optional maintenance tasks. They patch security vulnerabilities, fix known bugs, and keep your system compliant with current payment standards. Schedule updates monthly, outside of trading hours.
Ongoing system maintenance prevents failures and maintains security compliance. Many owners treat setup as a one-time task, but your POS environment needs regular reviews to stay reliable and secure.
For cable management, use adhesive cable clips or trunking to fix cables to surfaces. Loose cables on a busy counter get pulled, which causes disconnections and hardware damage over time. Label every cable at both ends so any member of staff can identify connections quickly.
Key takeaways
A successful POS hardware setup depends on choosing the right components, building a segmented and resilient network, and following a systematic installation process from day one.
| Point | Details |
|---|---|
| Select the right components | Every setup needs a terminal, card reader, thermal printer, cash drawer, and barcode scanner as a minimum. |
| Segment your network | Use VLAN separation for POS, staff, guest Wi-Fi, and CCTV to meet PCI DSS and Cyber Essentials requirements. |
| Build in resilience | Combine broadband with 4G/5G failover and a UPS to prevent sales loss during outages. |
| Follow a systematic installation | Work through hardware positioning, wired connections, software configuration, and testing in order. |
| Treat setup as ongoing | Schedule monthly firmware updates and regular network checks to maintain security and performance. |
What I have learned from watching businesses get POS setup wrong
Most POS installation problems I have seen come down to one thing: owners treating the setup as a box-ticking exercise rather than a foundation for how their business operates every day.
The network is where I see the biggest mistakes. A business will spend thousands on good hardware, then plug everything into a consumer router from their home broadband package. Within weeks, they are dealing with dropped connections, slow card processing, and frustrated customers at the till. The fix is not expensive, but it requires planning before installation day, not after.
The second pattern I notice is underestimating the value of wired connections. Wi-Fi is convenient, but in a busy café or retail unit with thick walls and competing signals, it is unreliable. Hardwired Ethernet for your fixed tills is not old-fashioned. It is the right call.
What I find genuinely encouraging is how much better the hardware options have become for small businesses. Technologies like SteadyLAN, which delivers both power and a wired connection to a tablet through a single printer cable, solve real problems without requiring a full rewire. These are the kinds of details that make a meaningful difference in day-to-day reliability.
My honest advice: spend as much time planning your network as you do choosing your hardware. And once you are live, do not ignore your firmware updates. The businesses that stay secure and reliable are the ones that treat their POS setup as a living system, not a finished project. If you are considering upgrading your current setup, start with an honest audit of your network before buying new devices.
— Amir
How Switch-and-save makes your EPOS setup straightforward
Setting up POS hardware is much simpler when your system is designed to work together from the start.

Switch-and-save supplies complete EPOS systems built for UK retail and hospitality businesses, combining compatible hardware, AI-powered software, and integrated payment processing in one package. Every system comes with UK-based support, so you are never left troubleshooting alone. Whether you need a single-till setup for a boutique or a multi-terminal configuration for a restaurant, Switch-and-save has a package to match. Flexible purchasing options and transparent pricing mean you know exactly what you are getting before you commit. Browse the full range and find the right fit for your business.
FAQ
What hardware do I need for a basic POS setup?
A basic setup requires a touchscreen terminal, card reader, thermal receipt printer, cash drawer, and barcode scanner. You also need a business-grade router, managed network switch, and Ethernet cables for a stable connection.
How do I set up POS hardware on a secure network?
Use VLAN segmentation to separate your POS devices from guest Wi-Fi and back-office systems. This meets PCI DSS and Cyber Essentials requirements and protects payment data from unauthorised access.
What is the minimum broadband speed needed for a POS system?
A minimum of 10 Mbps is recommended, but connection stability matters more than speed. Pair your broadband with a 4G or 5G cellular failover to prevent downtime during outages.
Why does my POS terminal keep losing its connection?
The most common cause is a loose Ethernet cable or an incorrect VLAN assignment. Check physical connections first, then confirm your device is assigned to the correct network segment on your managed switch.
How often should I update my POS hardware and software?
Schedule firmware and software updates monthly, outside trading hours. Regular updates patch security vulnerabilities and keep your system compliant with current payment processing standards.