
Getting a new POS (point of sale) system up and running should be straightforward. But for many small business owners in retail and hospitality, the reality is messy cables, missing steps, and staff standing around while the queue builds. A poor installation doesn’t just waste your afternoon. It can cause transaction errors, lost sales data, and frustrated customers right from day one. This guide walks you through everything you need, from gathering the right equipment to testing your first real transaction, so your new system works the way it should from the moment you open your doors.
Table of Contents
- What you’ll need before you start
- Step-by-step POS system installation
- Common installation pitfalls and how to avoid them
- Verifying success: Testing your new POS system
- Our take: What most POS installation guides miss
- Get the right EPOS solution for your business
- Frequently asked questions
Key Takeaways
| Point | Details |
|---|---|
| Plan before you install | Gather all necessary POS hardware, software, and network items to streamline setup. |
| Follow step-by-step instructions | Carefully assemble hardware and configure software to prevent costly errors. |
| Test before going live | Verify all components work together with practice transactions before serving real customers. |
| Avoid common mistakes | Watch for skipped steps and ensure cabling and devices are properly connected. |
| Support and updates matter | Continue to train staff and update your POS to maximize efficiency and long-term value. |
What you’ll need before you start
Now that the importance of a smooth installation is clear, let’s look at exactly what you’ll need before you start. Skipping the preparation stage is the single biggest reason installations go wrong. Treat this section like a pre-flight checklist.
Essential hardware and software
Before you unbox anything, make sure you have all the components on hand. A typical retail or hospitality POS setup includes:
- POS terminal or tablet (touchscreen preferred for speed)
- Receipt printer (thermal printers are faster and cheaper to run)
- Barcode scanner (wired or wireless depending on your layout)
- Cash drawer (usually connects through the receipt printer)
- Card payment terminal (integrated or standalone)
- Router and network switch (if running multiple terminals)
- Power strips and cable management clips
On the software side, you’ll need:
- A valid software license or subscription for your chosen POS platform
- Login credentials for your merchant payment account
- Access to your product catalog or inventory file (CSV format works for most systems)
- Your VAT registration number if applicable
Choosing the right system from the start matters. Best EPOS system for retail advice consistently points to matching your software features to your actual workflow, not just picking the cheapest option.

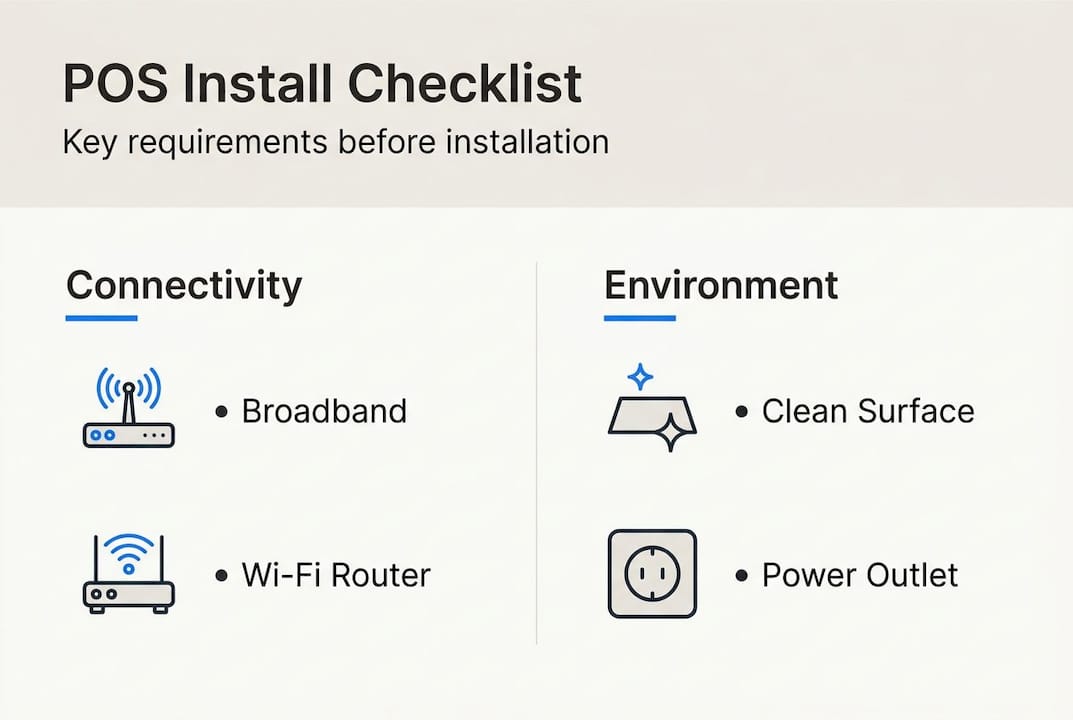
Connectivity and environment checklist
| Requirement | Why it matters | Check before install |
|---|---|---|
| Stable broadband connection | Cloud POS systems need reliable internet | Run a speed test (min. 10 Mbps recommended) |
| Ethernet ports near counter | Reduces lag and dropout risk | Check router proximity |
| Power outlets at workstation | Avoids trailing cables | Count and plan cable routes |
| Adequate counter space | Prevents equipment damage | Measure before placing hardware |
| Backup 4G router or dongle | Keeps you trading if broadband drops | Optional but strongly advised |
You should also review modern POS features before finalizing your setup plan, especially if you want contactless payments, loyalty programs, or kitchen display integration from day one.
Time and staffing
Set aside at least half a day for a single-terminal setup. Multi-terminal or multi-location installs may need a full day or more. Ideally, have one person dedicated to the technical setup and another available to handle any questions from staff. Avoid scheduling your installation on a busy trading day. A quiet Tuesday morning beats a Saturday afternoon every time.
Pro Tip: Do a quick EPOS system check before you commit to any hardware purchases. Compatibility issues between hardware and software are far more common than most vendors admit.
Step-by-step POS system installation
Once you have everything ready, follow these steps for a seamless installation. This is where most guides get vague. We’re going to be specific.
1. Unbox and inspect all hardware
Lay everything out on a clean surface. Check each item against the packing list. Look for any physical damage, especially to screens and printer heads. If anything looks wrong, contact your supplier before you start connecting anything. Trying to troubleshoot a faulty unit after a full setup wastes hours.
2. Position your hardware
Place your terminal at eye level for staff. The receipt printer should sit within arm’s reach but away from any food or liquid. If you’re running a hospitality setup, consider whether your printer needs to be in a separate kitchen area. Run cables along the back of the counter using cable clips or a cable tray. Loose cables are a trip hazard and look unprofessional.
3. Connect peripherals in order
Follow this sequence to avoid conflicts:
- Connect the receipt printer to the counter power outlet
- Plug the cash drawer into the printer’s RJ11 port (the small phone-style socket)
- Connect the barcode scanner via USB or pair it via Bluetooth
- Connect the POS terminal to power and to your network via ethernet
- Connect your card payment terminal and ensure it has a SIM or ethernet connection
4. Power on and run initial hardware checks
Turn on each device one at a time. Confirm the receipt printer feeds paper correctly by pressing the test button. Check that the cash drawer opens when triggered. Scan a test barcode to confirm the scanner registers input. This takes ten minutes and saves hours of backtracking later.
5. Install and register your POS software
Most modern systems are cloud-based, meaning you log in through a browser or a dedicated app rather than installing a large software package. Follow these steps:
- Connect your terminal to the internet
- Open your POS provider’s app or browser portal
- Enter your license key or log in with your account credentials
- Follow the on-screen setup wizard to configure your store name, currency, and tax settings
- Import your product catalog using the CSV upload tool
For a clear overview of how this process works across different system types, the POS basics guide is a solid reference, especially if this is your first EPOS installation.
6. Configure payment methods and user accounts
Set up your accepted payment types: cash, card, contactless, and any digital wallets you plan to support. Then create individual staff accounts with appropriate permission levels. A team member doesn’t need access to your financial reports. A manager does. Keeping permissions tight reduces errors and protects your data.
Comparison: Cloud-based vs. on-premise POS setup
| Factor | Cloud-based POS | On-premise POS |
|---|---|---|
| Setup time | 1 to 3 hours | Half a day to full day |
| Software updates | Automatic | Manual |
| Offline capability | Limited (needs internet) | Full offline function |
| Remote access | Yes, from any device | No, local only |
| Upfront cost | Lower (subscription model) | Higher (license purchase) |
| Best for | Small to medium retail and hospitality | High-volume or complex setups |
Pro Tip: Take screenshots of every configuration screen as you go. If something breaks or resets later, you’ll have a record of exactly how you set things up. It takes seconds and can save you hours.
Common installation pitfalls and how to avoid them
After completing the installation, be aware of these common pitfalls so you can keep everything running smoothly. Even a well-planned install can hit snags. Knowing what to watch for makes the difference between a quick fix and a full restart.
The most frequent mistakes
- Skipping software updates: Many systems ship with outdated firmware. Always check for updates before your first live transaction. An unpatched system can have security gaps or bugs that affect payment processing.
- Poor cable management: Cables left loose get caught, pulled, and damaged. This is especially common in busy hospitality environments where staff move quickly.
- Not testing the cash drawer trigger: Many setups connect the cash drawer to the printer, but the software also needs to be configured to send the open signal. Test this before going live.
- Importing a messy product catalog: If your CSV file has inconsistent formatting, prices, or missing barcodes, your inventory will be wrong from day one. Clean your data file before importing.
- Setting up a single admin account: If you only have one login and that staff member leaves or forgets the password, you’re locked out. Set up at least two admin accounts.
“Small errors in setup add up quickly. A misconfigured tax rate or a missing product category can create reporting headaches that take weeks to untangle. Get it right at the start.”
Reviewing 5 smart checks before and during your install gives you a practical framework for catching these issues before they become problems.
How to document your setup
Write down or save digitally:
- Your software login credentials (stored securely, not on a sticky note)
- Serial numbers for all hardware
- Your network settings (IP addresses, Wi-Fi password, router model)
- Your payment terminal merchant ID
- The name and contact details of your POS provider’s support team
This documentation becomes invaluable if you ever need to call for support or replace a piece of hardware. Understanding the importance of POS data goes beyond sales reports. It starts with having a reliable, well-documented system from the very beginning.
Pro Tip: Create a simple one-page “system info sheet” and laminate it. Keep it near the terminal. Staff will thank you when something goes wrong at 8pm on a Saturday.
Verifying success: Testing your new POS system
Before launching your new system fully, double-check that everything is working by following these verification steps. This stage is not optional. It’s the difference between a confident launch and a stressful first day.
Verification checklist
- Run a test transaction using cash. Process a sale, give change, and confirm the cash drawer opens and the receipt prints correctly.
- Run a test card transaction. Use your own card to process a small payment. Confirm the amount appears correctly on the card terminal and the receipt matches.
- Test a refund. Process a return on your test transaction. Confirm the refund appears in your reports and the correct amount is returned.
- Check your inventory updates. After your test sale, confirm the sold item’s stock count has decreased in your system.
- Test the barcode scanner on five to ten products. Confirm each scans correctly and pulls up the right product and price.
- Log in as a staff member (not admin). Confirm the permissions are correct and the interface is easy to navigate.
- Simulate a busy scenario. Have two staff members process transactions at the same time if you have multiple terminals. Check for lag or conflicts.
- Check your reporting dashboard. Confirm your test transactions appear correctly in your sales reports.
Why this matters for your bottom line
📊 Statistic callout: Retailers who use a well-configured EPOS system report measurable improvements in transaction speed and stock accuracy within the first month. According to POS sales data, businesses that fully integrate their POS with inventory management see a significant reduction in stock discrepancies and manual errors, directly protecting their margins.
Getting your system verified properly means your staff start confident, your data is clean from day one, and your customers experience faster, smoother service. When you’re ready to scale, looking at top UK EPOS systems will help you understand what additional features to unlock as your business grows.
Our take: What most POS installation guides miss
With your system installed and tested, let’s look at what most step-by-step guides leave out.
Most installation guides treat the job as done once the hardware is plugged in and the software is running. That’s a bit like saying a restaurant is ready to open because the kitchen equipment is installed. The real work is in how your team uses the system day to day.
Here’s what we’ve seen consistently: the biggest efficiency gains from a new POS don’t show up in week one. They show up in weeks three and four, once staff have settled into the workflow, once you’ve spotted which reports you actually check every morning, and once you’ve adjusted your product categories to match how customers actually shop or order.
Staff training is where most businesses underinvest. A 20-minute walkthrough on launch day is not enough. Build in a short refresher session after the first two weeks. Ask your team what’s confusing or slow. They’ll tell you things that no setup guide ever covers, like the fact that the refund button is two taps too deep in the menu, or that the barcode scanner loses connection when someone opens the back door.
Continual feedback loops matter too. Your POS system should be generating data that helps you make better buying decisions, spot your busiest hours, and identify which products are underperforming. If you’re not reviewing that data weekly, you’re leaving value on the table. The EPOS system checklist is a useful tool for making sure your system keeps delivering value long after the install is done.
The businesses that get the most from their EPOS investment are not necessarily the ones with the most expensive hardware. They’re the ones that treat the installation as the beginning of a process, not the end of one.
Get the right EPOS solution for your business
Ready to put these installation tips into action? The right system makes every step in this guide faster and simpler.
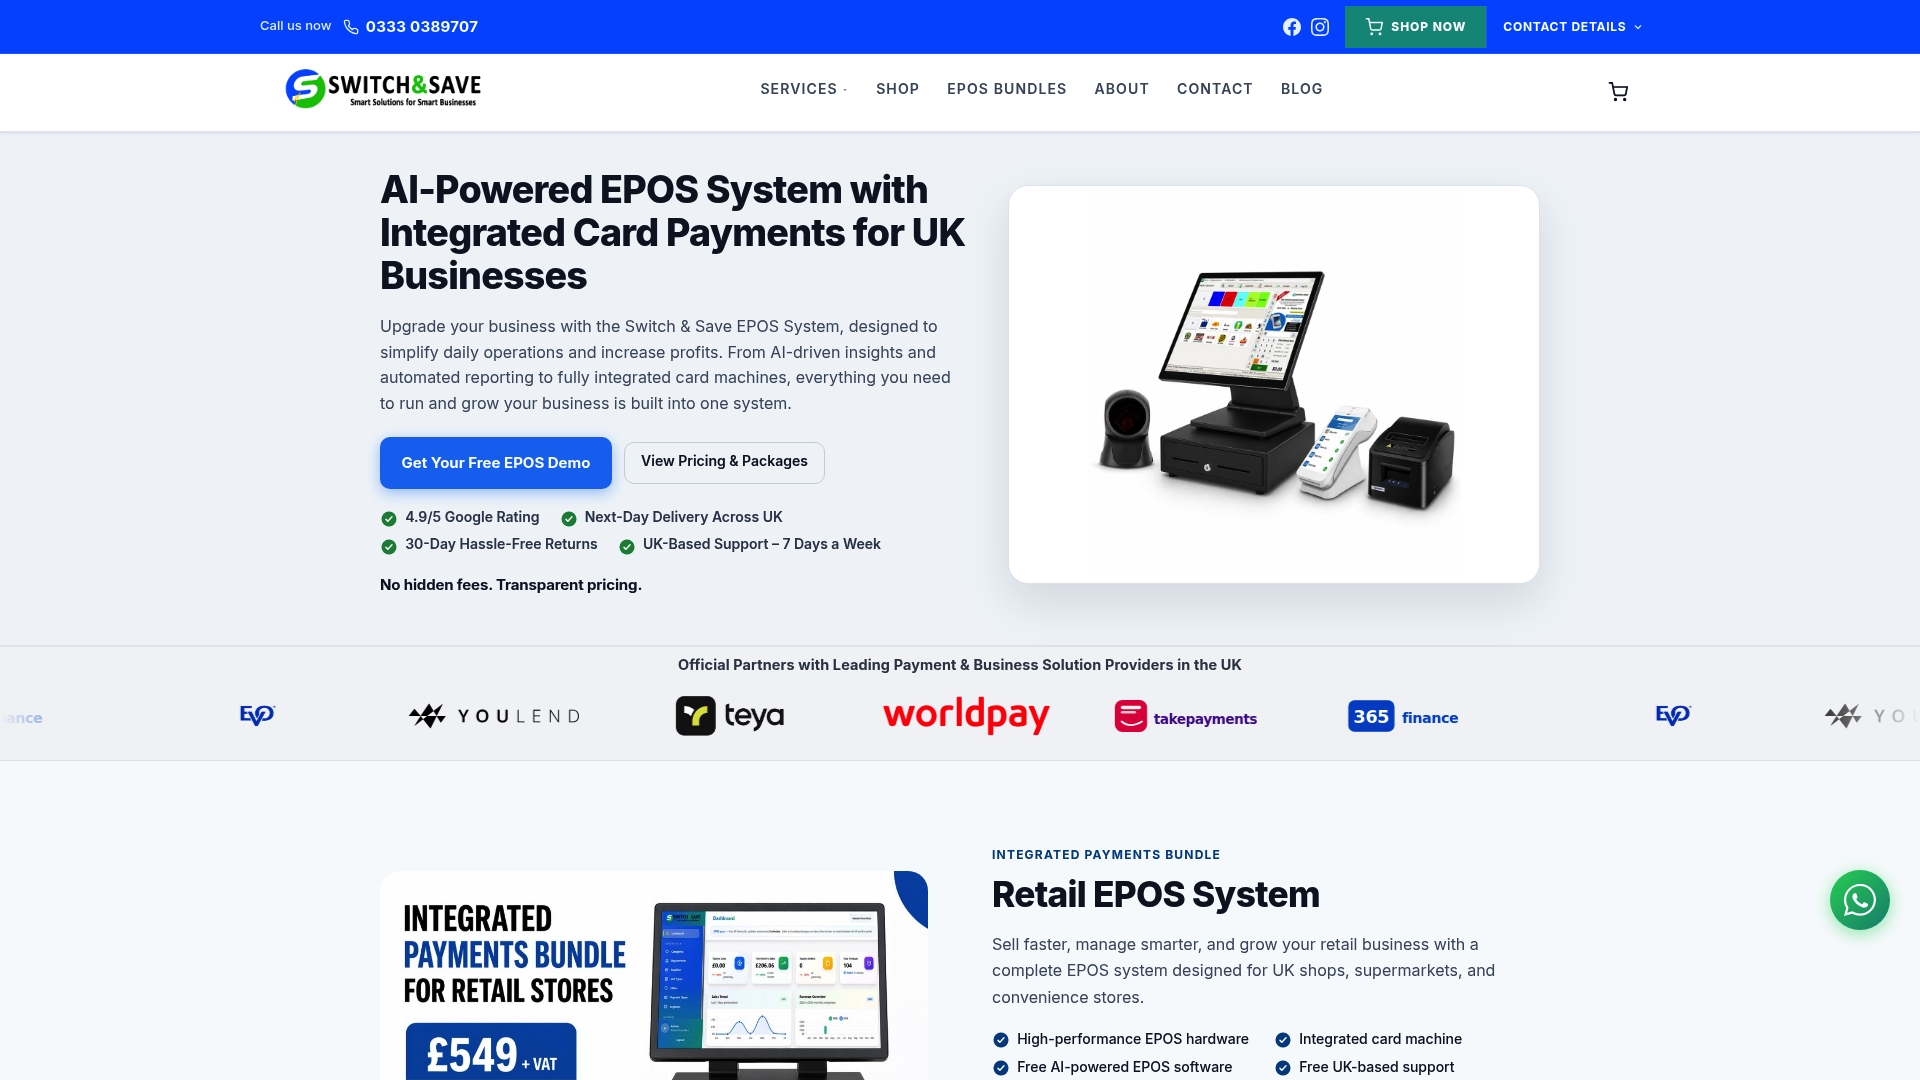
At Switch and Save, we offer a full range of EPOS systems designed specifically for UK retail and hospitality businesses. Whether you’re setting up your first terminal or upgrading an existing setup, our SSPOS installation-ready software is built to get you trading quickly, with minimal technical knowledge required. If you run a shop, our retail EPOS setup packages include everything covered in this guide, with UK-based support available when you need it. Next-day delivery and transparent pricing mean no surprises, just a system that works.
Frequently asked questions
How long does it take to install a new POS system?
Most modern POS systems can be installed within a few hours if all equipment and software are ready in advance. Complex multi-terminal setups may take a full day.
Do I need professional help for installation?
Many systems are designed for self-installation with guided setup wizards. Businesses with multiple terminals, kitchen displays, or complex inventory needs may benefit from professional support.
Can I upgrade my current POS without downtime?
Yes, with careful planning. Schedule upgrades during off-hours, run parallel testing before going live, and have a rollback plan ready in case anything doesn’t transfer correctly.
What features should I prioritize in a new POS system?
Focus on ease of use, robust reporting, integrated payment options, and inventory management. Selecting the right POS from the start saves time and money compared to switching systems later.
How can I tell if my POS system is helping my business?
Monitor transaction speed, stock accuracy, and sales growth over the first 30 to 60 days. A well-configured system should show clear improvements in all three. Reviewing your POS sales performance data weekly gives you the clearest picture of what’s working.